


If you’ve ever looked at a polished product photo and thought, “That looks simple enough,” you’re not alone. From the outside, the product photography process can seem pretty straightforward. Set the product down, take a photo, and you’re done. But the reality is that the final image you see online is the result of hours of planning, styling, testing, and refining behind the scenes.
In other words, the photo isn’t really created when the camera clicks. That moment is simply the final step in a much bigger process.
At Wonderly Creative Co, every product photoshoot begins long before the camera is turned on. Each shoot is carefully planned so the final images don’t just look beautiful… they work hard for your brand across your website, social media, ads, and more.
When I first started learning product photography, I assumed the hardest part would be the camera settings. It turns out the real challenge is everything that happens before the photo is taken: styling the scene, adjusting the lighting, testing angles, and tweaking tiny details until everything finally comes together.
If you’ve ever wondered what actually goes into a Wonderly Creative Co. product photoshoot, here’s a look behind the scenes, from the first idea to the final image.
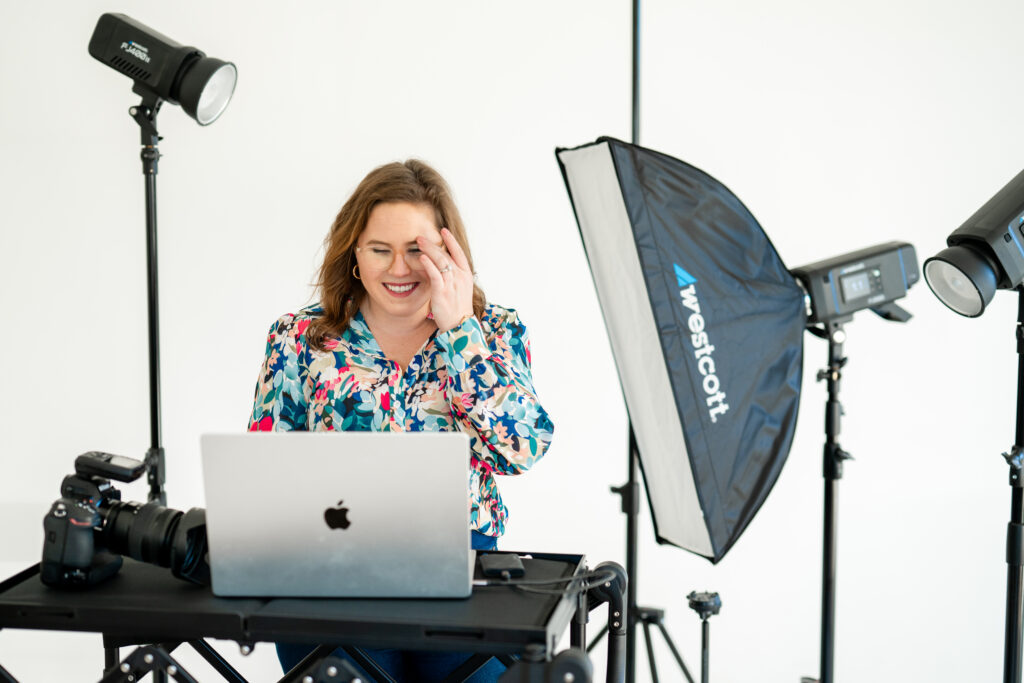
Step 1: Understanding the Brand Vision
The most important part of a photoshoot happens before we take any photos
Every shoot begins with one simple question: What does this brand need these photos to do?
Before we ever talk about props, lighting, or styling, we start with strategy. When a brand books a shoot with Wonderly Creative Co, they begin by filling out a detailed questionnaire. This helps me understand things like:
- their brand personality
- who their customers are
- how the photos will be used
- which products are the priority
- what kind of visual direction they’re drawn to
From there, I take everything from the questionnaire and begin building a creative planning board in Milanote. This board becomes the visual roadmap for the entire shoot. It includes inspiration images, color palettes, styling ideas, and the overall creative direction.
Once the Milanote board is ready, I send it over for the client to review so we can make sure everything aligns with their vision. If they have questions or want to talk through anything, we can absolutely hop on a call.
I actually love this stage of the process because it’s where the shoot really starts to take shape. When everything lives in a Milanote board, it’s much easier to see how the colors, props, and overall mood will work together before we even start styling the set.
This step is incredibly important because great photos don’t start with styling. They start with clarity.
When we know the purpose of the images, we can design a shoot that supports your marketing instead of just creating “pretty pictures.”
Step 2: Creative Direction & Shot Planning
Turning the vision into a real shoot plan
Once the direction is clear, the creative planning begins. Inside the Milanote board, I start mapping out exactly what the shoot will look like. This includes things like:
- mood and inspiration images
- color palettes
- prop ideas
- backgrounds and surfaces
- styling direction
- lighting inspiration
From there, I create a detailed shot list. The shot list is one of the most important parts of the entire product photography process because it ensures we capture a variety of images the brand can actually use.
For snack and beverage brands especially, we typically plan a mix of:
Hero images: Bold, clean shots where the product is the clear star of the frame.
Lifestyle setups: Scenes that help customers imagine the product as part of their everyday life.
Macro shots: Close-up detail images that highlight ingredients, textures, and packaging.
Planning these ahead of time means the shoot day runs smoothly and brands walk away with a diverse library of images, not just a handful of similar photos.
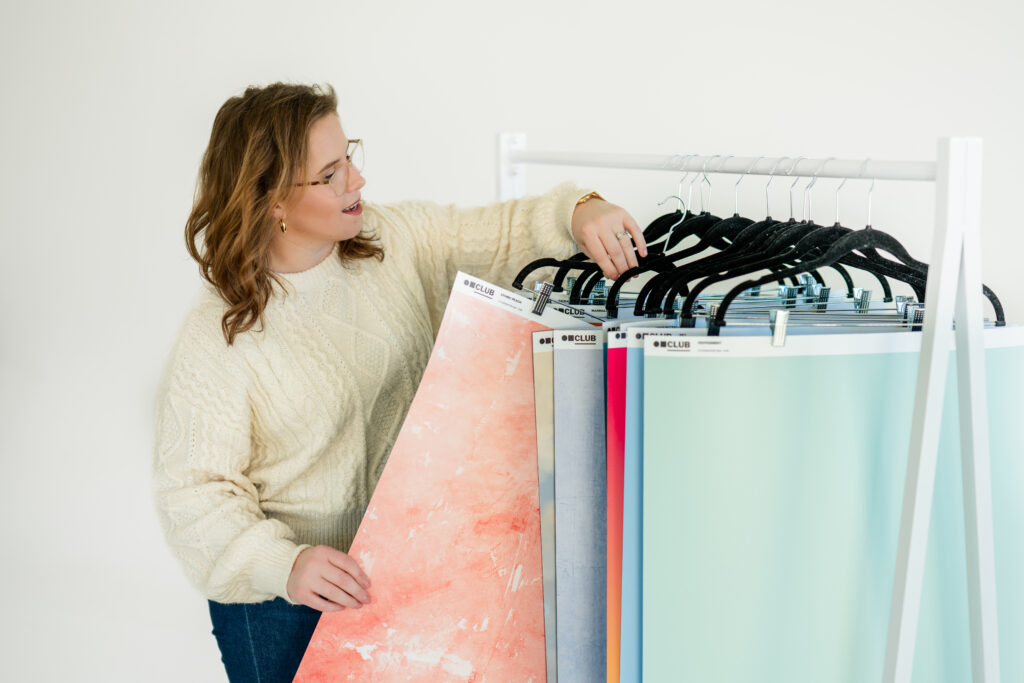
Step 3: Set Design & Styling
Where the behind-the-scenes magic happens
This is the part of the process where everything starts to come to life. Before a single final image is captured, the sets for the shoot are built and styled. This can involve selecting:
- backdrops and surfaces
- props and glassware
- ingredients or garnishes
- layers and textures
- hiring models or booking studio spaces when needed
For snack and beverage brands, styling is incredibly important. The goal isn’t just to show the product; it’s to create a scene that makes people want the product. Sometimes that means bright, colorful setups that match the personality of the brand. Other times it means minimal styling so the packaging becomes the star. And while the final photo might look effortless, styling is often a process of trial and error.
I’ll style the scene, adjust the lighting, take a few test photos, tweak the styling again, move the lights, and repeat that process until everything feels right. Styling is rarely a one-and-done situation. Sometimes the smallest change – like rotating the product slightly or moving a prop an inch – suddenly makes everything click.
Over time I’ve learned that those tiny adjustments are often what turn a photo from “good” into something that really makes the product shine.
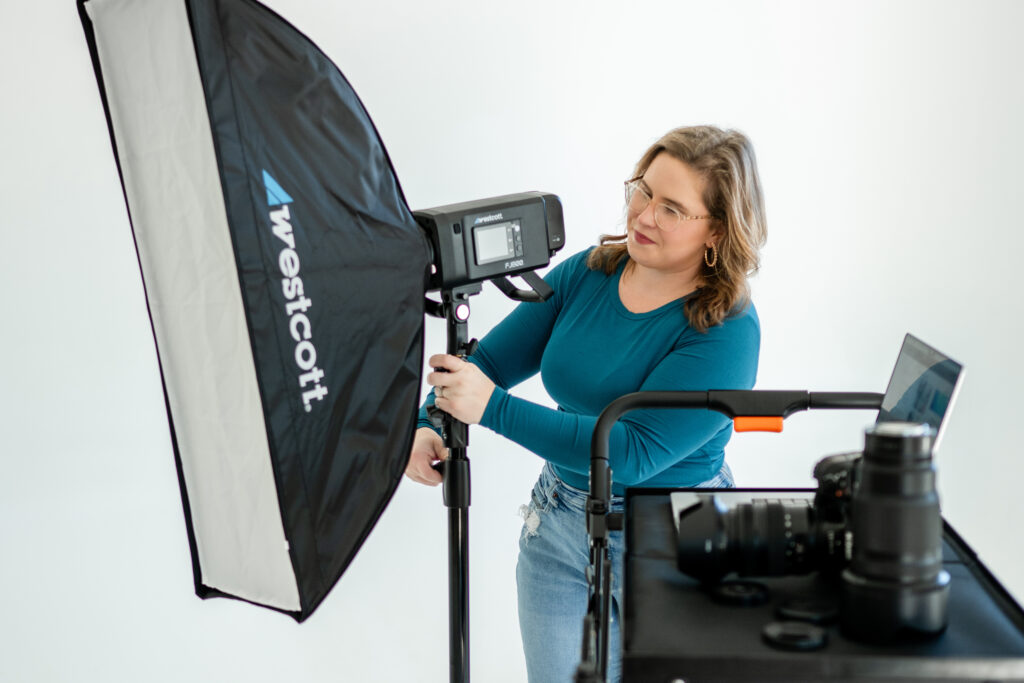
Step 4: Lighting & Camera Setup
The biggest difference between DIY photos and professional product photography
Lighting is where the technical magic happens. It’s also one of the biggest differences between a DIY photo and a professional product photography setup. At Wonderly Creative Co, lighting is carefully controlled so every detail of the product looks its best. This often includes:
- studio lights
- diffusers to soften shadows
- reflectors to bounce light back onto the product
- careful angle adjustments
Lighting is one of those things that looks simple when you see the final photo, but it often takes a lot of experimenting to get right. I’ll frequently move a light, take another test shot, and repeat that process several times until the shadows and highlights feel balanced.
Because here’s the truth: Lighting is often the difference between a photo of a product and a product that looks irresistible.
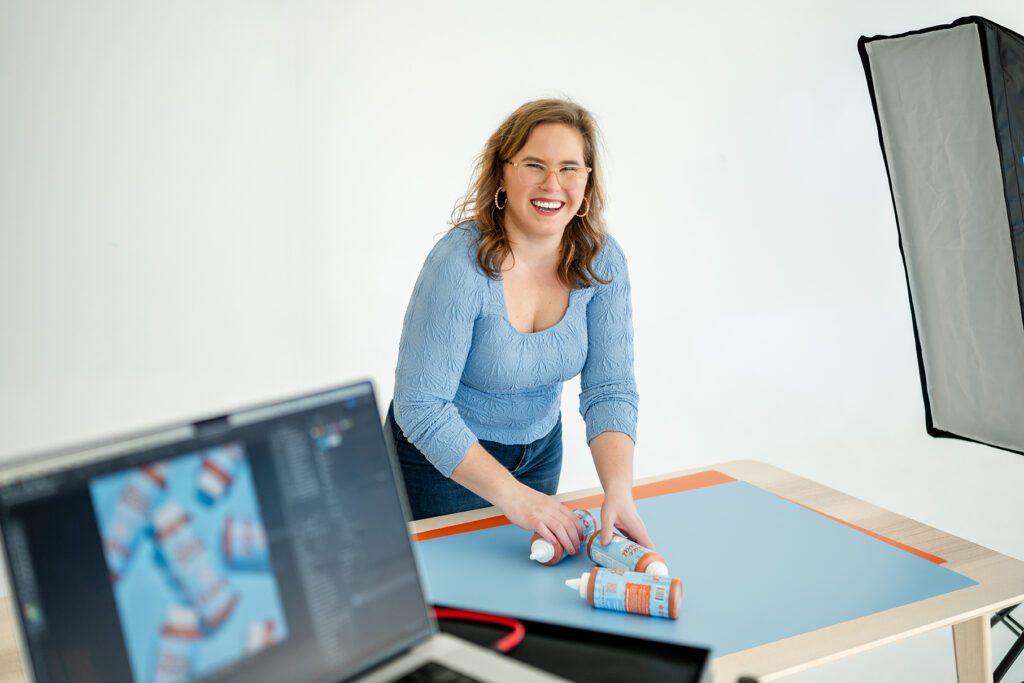
Step 5: The Shoot Day
Capturing the final images
By the time the official shoot begins, the camera has already been busy. As I style the set and adjust lighting, I’m constantly taking test photos to see how everything looks through the lens.
One thing I’ve learned over time is that what looks good to your eye doesn’t always look the same through the camera. Taking test photos throughout the process helps me catch small issues early, like glare on packaging or shadows that are falling in the wrong place.
Once everything is dialed in, we start capturing the final images. During the shoot, I often:
- adjust styling between shots
- test different camera angles
- tweak lighting as needed
- capture multiple variations of the same setup
I’ll also frequently photograph the same setup with different backdrops or surfaces, which gives clients more options and flexibility when using the images later. A single setup might produce images that work for:
- website banners
- Instagram posts
- ads
- email campaigns
The goal is always to create versatile images that give brands as much value as possible from one shoot.
Step 6: Editing & Final Image Delivery
Polishing the final images
After the shoot wraps up, the process moves into post-production. First, I color correct the images and prepare them for the client gallery. At this stage, clients are able to review the photos and select the exact images they want to download. They can also purchase additional images if they’d like more from the set.
Once selections are made, I move into the full retouching process. This stage typically includes:
- detailed color correction
- removing distractions or imperfections
- refining textures and details
- polishing the image so it feels clean, vibrant, and professional
Sometimes the goal is natural refinement. Other times the goal is perfection, especially when the images will be used on product pages, ads, or packaging. Once retouching is complete, the final images are delivered in a ready-to-use gallery for web, social media, and marketing use.
What Brands Should Prepare Before a Product Photoshoot
A little preparation goes a long way
One of the biggest things that helps a photoshoot run smoothly is preparation. Here are a few things I always recommend before sending products to Wonderly Creative Co.
Send extra product: Between styling, opening packages, pouring drinks, and testing setups, having extra product gives us flexibility during the shoot.
Think about how the product is used: For snack and beverage brands, it helps to think about how customers interact with the product. Is it poured into a glass? Served in a bowl? Styled with certain ingredients?
Consider brand colors: Sometimes we incorporate colors from your packaging into props or backgrounds so the images feel cohesive with the rest of your branding.
Share your marketing goals: Knowing where the photos will live — website banners, ads, social media — helps ensure the compositions work for those platforms.
Why the Process Matters
Professional photography isn’t just about making your product look good. It’s about helping your product stand out in a crowded market. Strong visuals can:
- elevate brand perception
- build customer trust
- make packaging look more premium
- help your product compete on crowded shelves and feeds
When imagery feels polished and intentional, customers often assume the product itself is high quality too.
From Concept to Scroll-Stopping Image
By the time you see the final photo from a Wonderly Creative Co shoot, a lot has already happened behind the scenes. Strategy. Planning. Styling. Lighting. Shooting. Editing.
Every step works together to create images that help your brand show up confidently online.
One of the things I love most about product photography is that every shoot is a little different. Even with a clear plan, there’s always a moment during the process where everything finally clicks and the image comes together exactly the way you envisioned.
And the best part? Once the process is complete, you’re left with a library of bold, colorful imagery that works across every part of your marketing.
If your brand is ready for visuals that truly showcase your products…
